How To Make Your Own Single Fold Bias Binding
I love to make my own binding rather than buying the binding, particularly because it allows me to use up my scraps of fabric – I hate to see fabric going to waste! Keep in mind if you want to minimise the bulk in your seam – use a lighter fabric in the binding.
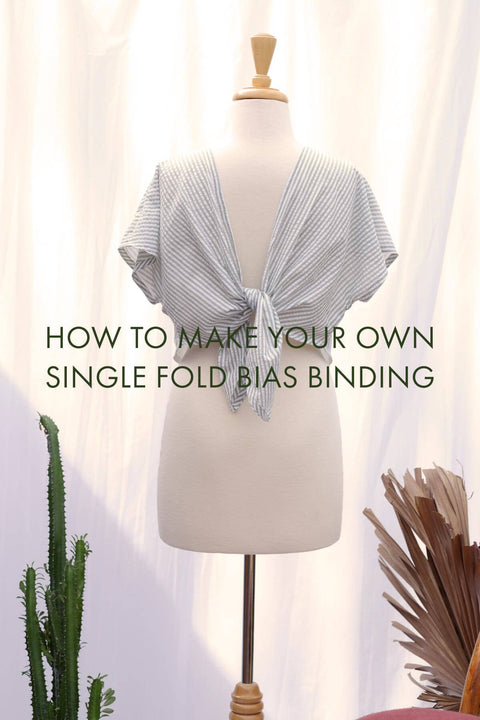
Bias Binding is perfect for creating a professional looking finish on seams (and feeling quite chuffed about it) that arent joined onto any other seams or anything else. You can use this method on the Tallulah Tie Back Top on the outer seams. In this tutorial, I will be cutting and folding the binding by hand, if you prefer you can do a quick google on some bias binding tools but this method will show you how to make the binding without any fancy tools.
We suggest you read this tutorial and sewing instructions before cutting and sewing your Tallulah top, if you have chosen to make your own binding. You do have the option to purchase binding from your local store to make the top.
How to make your bias binding for the Tallulah top pattern:
Finished width 12mm or ½ inch.
This is a simple method to make your own single fold bias binding.
Cut out your Tallulah tie top front and back sections, before cutting your bias binding pieces.

How to cut Bias binding pieces:
Use your left over fabric to make the bias binding pieces. Place fabric right side up, Press if required. Choose an area that will provide the longest bias binding pieces.
Cut each bias binding piece -Width 25mm or 1inch wide. Cut each piece the longest length possible.
Cut bias binding pieces in a 45degree angle / diagonal direction.
Cut enough bias binding pieces to make a length of approximately 4.6mtres or 5 Yards. (Based on largest size of pattern.)

Right sides together pin bias binding pieces on a right angle as shown. Extend outer edges by 6mm or ¼ inch.
Stitch bias binding ends together in a diagonal direction as shown.
 Open seam & press. Trim raw edges that are extending on sides. as shown. Repeat this step to sew all the bias pieces together to make one long length. This should measure approximately 4.6mtrs or 5 yards. (Based on largest size)
 Create a centre fold line. Fold bias sections, wrong sides together and press a centre fold mark the entire length of the binding strip. This will act as a guideline for the following step.
 Open bias binding:
Fold & press one edge over to the wrong side. Align the raw edge to the centre fold line. Your folded edge should measure 6mm or ¼ inch wide.
Leave the opposite edge flat / unfolded. This will save time as it is not necessary to fold both sides for this pattern.
Sewing tips how to stitch the bias binding at the corners of ties:
 View Right side up Right sides together stitch binding to top section at tie ends. Align raw edges. (Folded edge opposite side) Stitch in 1/8 inch or 3mm in from raw edges. Pivot binding edge at point as you stitch the binding to corner edge of tie. It is not necessary to clip corners. You can clip the binding corner edge if preferred.
 View wrong side up Flip binding over towards opposite side. So, it is as an open seam.
Press seam allowance to wrong side of binding as shown.
 View Right side up
Under stitch seam allowance to bias binding. Stitch close to seam edge.
 View wrong side up. Fold bias binding over to wrong side. Press.
 View wrong side up. Tuck excess binding from one side under and pin. Press.
 View wrong side up
Make a neat fold in the direction of the point with the overlapping side of the binding. The pin is position. Press.
 View wrong side up. Stitch binding to the outer section, stitch close to folded edge. Pivot machine foot at corner of tie.
 View wrong side up Completed step of sewing the binding to tie sections of Tallulah top.
 View Right side up. Completed step of sewing the binding to tie sections of Tallulah top.
Sewing steps how to sew the binding to sleeve edges:
 Measure out 2.5cm or 1 inch on each side of side seam on top section as shown. Mark each point. Leave approximately 8cm or 3 inches free on each end of bias binding. We have placed a pin in one end of binding to begin this step.
 Right sides together, Pin & stitch binding to sleeve. Stitch close to raw edge, 3mm or 1/8 inch.
Stitch binding to sleeve and leave a gap between marks. (Approximately 5cm or 2inches wide)
 Bring both bias binding ends together. Mark the point of alignment on each bias strip as shown. Mark with a pin or tailors chalk. Open out the folded edges of binding strips.
 Right sides together, stitch bias binding pieces together. Press seam open. Trim excess binding ends.
Stitch remaining bias binding to sleeve edge.
 Open bias binding out to opposite side. Press seam allowance towards binding.
View Right side up under stitch seam allowance to binding. I am stitching with the right side up.
 View top section wrong sides out. Completed under stitch sewn to binding.
 View top section right sides out. Fold bindings under to inside of sleeve edges. Press binding in position. Stitch sleeve bindings to top section. Stitch close to the folded edge of binding. Cut off all threads & press entire Tallulah top.


