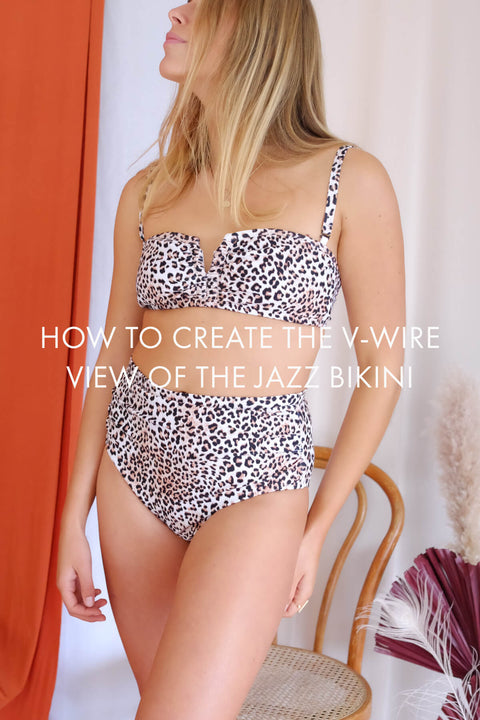
How to create the V-wire view of the Jazz Bikini
Tutorial V-wire version of Jazz bikini & One piece
This style may look a little daunting, so I have photographed my recent make along the way to show you how I sew the V-wire version of the Jazz bikini.
You can also apply this to the Jazz one-piece pattern.
The Jazz one piece and bikini patterns both include the V-wire style.
Overview of the V- wire construction method.
The centre front seam allowance is 3cm / 1 ¼ inches wide. It is opened and stitched to the inside to create a casing for the centre straps version included in this pattern.
For our V-wire version we add channel tape to thread the V-wire through. This will make it more comfortable for the wearer, instead of simply threading the V-wire through the casing.
2 pieces of channel tape are sewn on to the casing of the inside of the centre front.
In this tutorial I have taken photographs of my V-wire make to show you how. Our instructions take you through the same steps with detailed illustrations & instructions.
V-Wire size


You can use an alternate size of V-wire. Our instructions also cover this topic.
To begin -Measure the length of your V-wire.
Take note of your measurement.
Ours is 6cm/ 2 ¼ inches long.
 At the centre front of top section. Measure from the top edge,
down to the length of your V-wire and mark with a pin or tailors chalk.
Repeat on the opposite side of your front section.
Continue to follow sewing directions, Stitch the remaining lower centre front seam closed.
I have sewn the lower centre front seam, together and stitched gather stitches on each side of casing edges.
The gather stitches are stitched 2cm ¾ inch out from centre front seam.
The gather stitches are drawn down to prevent the top edges of casing showing on the outer side.
You will now be instructed to cut & stitch the channel tape to the seam allowance.
 Channel tape / Stitch to casing
Cut x 2 lengths of channel tape equal to the length of your V-wire.
Our V-wire 6cm.2 ¼ inches long.
Position channel tape about 2cm or 3/4 inch below top edge & close (3mm or 1/8 inch) to centre front edges.
Stitch channel tapes on each side of casing.
 I use my straight stitch to stitch the channel tape to the seam allowance/casing. You can see here the gather stitches also make it easier to stitch the channel tape to the seam allowance.
Stitch channel tape on both edges and the top. Leave the lower edge of the tape open so you can thread the V-wire in.
That’s one channel tape on, now for the opposite side.
 I open out the seam and tuck the top section away so not to catch it. I use a straight stitch to sew the channel tape on each side of seam allowance/ casing.

Stitch the tape through all thicknesses.
 Shown here. Both channel tapes sewn to the seam allowance
You will now be instructed to stitch the seam allowances to the top section on each side of the centre front seam.
The excess seam allowance is trimmed off in the last step.
Stitch casing to centre front.
Stitch casing to top section on each side of centre front sewing through all thicknesses.
Stitch out 2cm or ¾ inch from centre seam.
Open edges of casing wrap around cup edges. Stitch from top to lower edge.
Note top casing edges will slant downwards on inside.

 As I sew the casing edges in position, I prefer to stitch right side up. I can make sure the gathers are even on the front outer section as I stitch. I am stitching 2cm or ¾ inch out from centre front seam.
 The long stay stitches used to stitch the wadding to the outer section, can be removed now or at the last step.
I like to trim off the excess seam allowance at this point before I finish off the lower edge of the bikini top.
 Geared Up, to stitch the elastic to the lower edge.
 The lower edge is completed, now time to thread your V-wire through the channel tapes.
 V-wire inserted. I continued to complete the remaining steps.


