How to print & assemble pdf sewing tiles.
Pdf pattern tiles are very convenient to use. They are an instant download sent to your email address after purchase.
They will be sent to the email address that you have entered the website. Remember this if you have several email addresses.
In Swim Styles method you will find the links in your Thank you for your purchase auto email. The links are highlighted in blue.
I like using pdf patterns rather than a paper pattern, I figure by the time I get dressed to go out, go to the copy shop and come back I could have printed my pattern tiles and be well into making my project.
I totally understand if the tile count becomes to high eg over 35 tiles – then I agree a copy shop version is also a great option.
Most Swim Style pdf swimwear patterns are well under 30 tiles. It generally does not take long to assemble your pattern.
Our garment files also include copy shop files.
How to download the pattern tiles
There are 3 ways you can download your pattern:
After you have proceeded through the check out and you are on the "order received" page. On this page you can download the patterns straight away by clicking on the text highlighted in the yellow box below.
The next option is to download the pattern tiles from the email you receive immediately after you have made your purchase. Simply click on the links highlighted in blue in the email (example) below.
The third option is to view your account details page on our website. This page can be found when you are signed in on the website, either sign in on the top left hand screen on the home page or, select "account details" in the menu. On the left hand side of this page you will see "order" in your Account Details. Click on "Orders" The you will see all your orders you have made under the email address you are signed in as. Simply click on the order you want to down load and download the pattern tiles by clicking on the box highlighted below. Then your pattern will start to download!
Now onto printing!
Glue vs tape: I prefer using glue as I find it less fiddly. I also only cut 2 sides of the pattern tiles to create my pattern. The remaining sides are overlapped to create a stronger full size pattern.
How to print pattern tiles
You can print the Swim style pattern tiles on US size paper or A4 size paper.
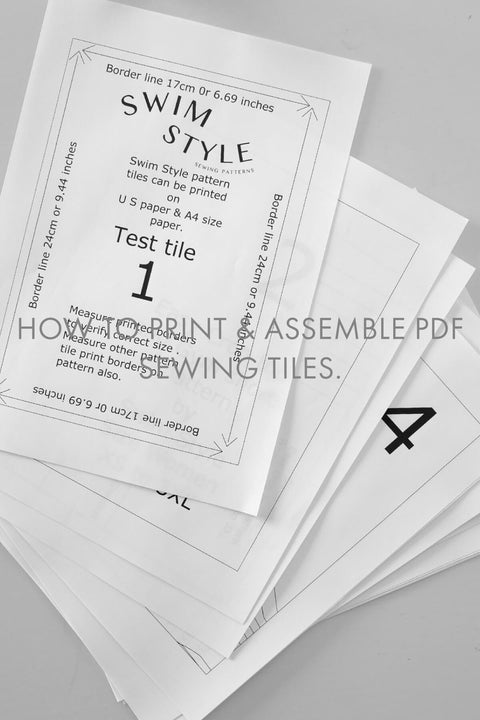
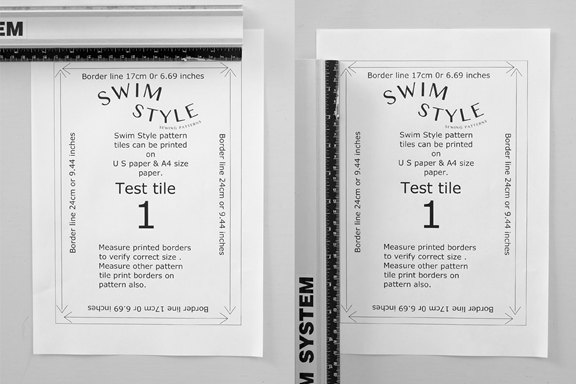
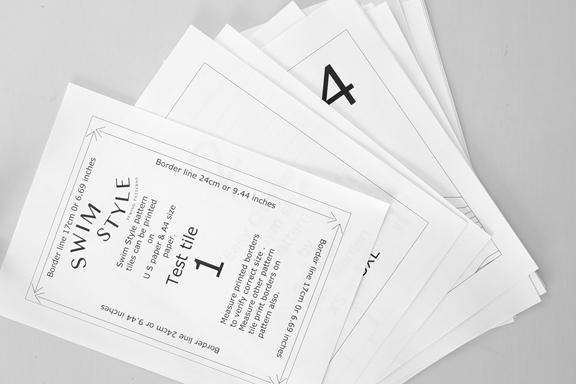
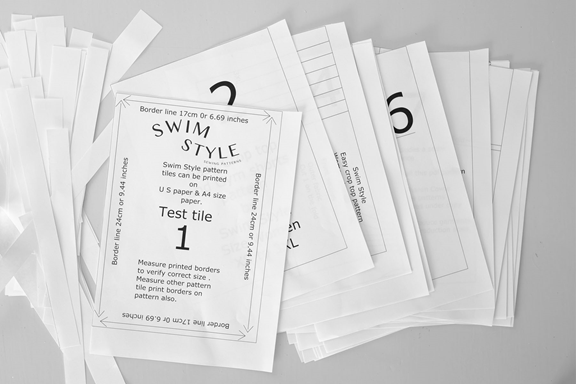
At Swim Style patterns we include a test tile with measurements at the printed borders, first, print out the test tile
It's important to print out your test tile to check your printer settings are correct by measuring the tile.
I have used my metal ruler below to measure the test tile, rather than a tape measure. I find its more study and accurate.
Measure each border as shown. Our pattern tiles include the measurements of the printed borders in both cm & inches. Its also wise to measure a few other tiles as you print your pattern tiles, to make sure they will all be the correct size.
If your test tile is correct go ahead and print the remaining pattern tiles.
If it is not, go into your printer settings. You may find one of these options below. To set your printer to the correct size you should find one of these options below to print the correct size print.
Actual size - print at 100% - do not scale
We recommend using Adobe Acrobat reader to print your pdf tiles.
This is free software you can download from the internet.
It s simple and to use, you will find the actual size box to tick to print out your tiles.
How to assemble the pattern tiles
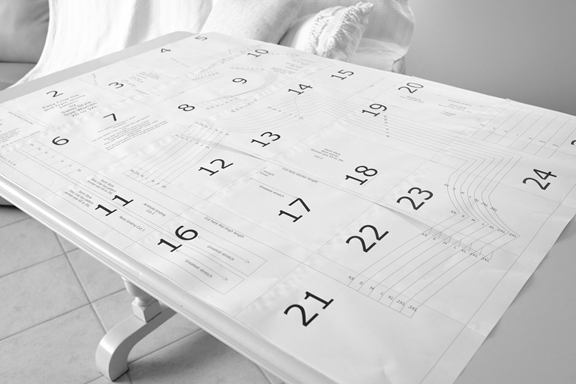
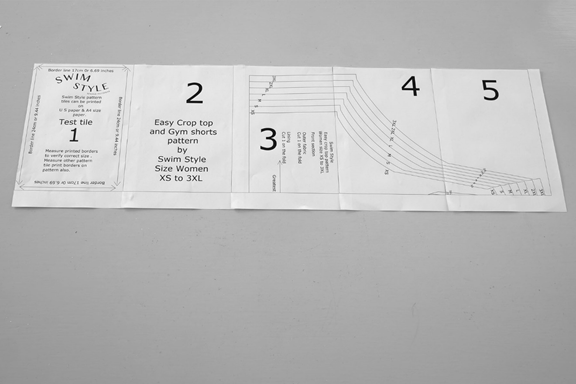
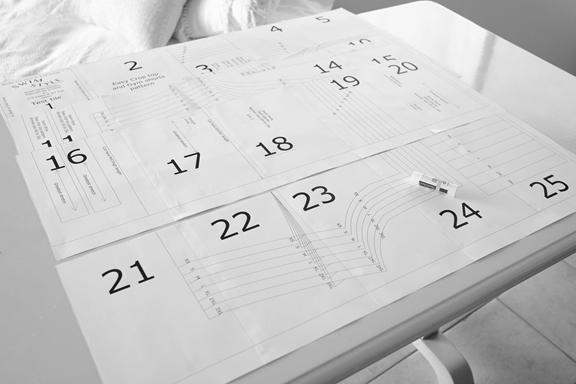
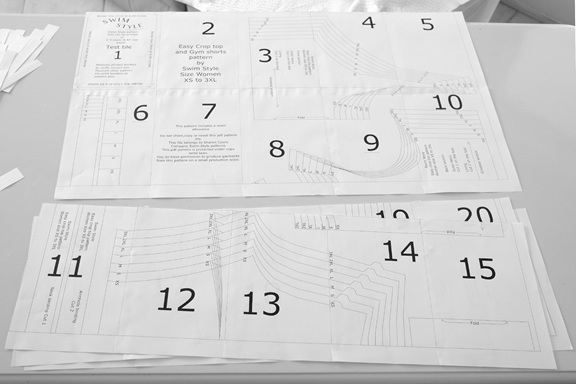
We will be assembling our Crop Top & Gym Shorts pattern in the following steps. This pattern includes 25 tiles.
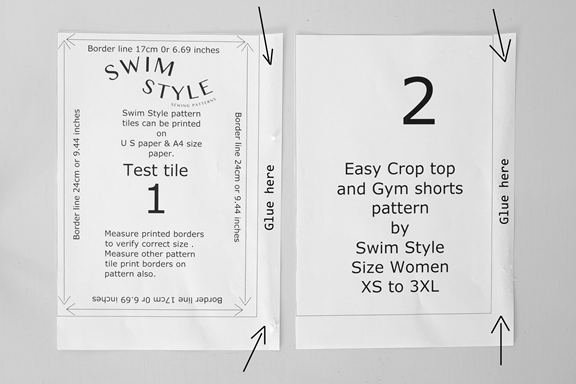
Trim 2 borders of each tile.
I like to trim the top and left side, this way you can match up each tile without cutting all the borders off (time saver).
Continue to trim the same borders from each tile.
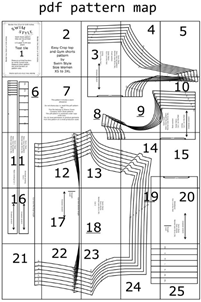
At this point it is a good idea to refer to your sewing instructions which include a pdf map.
This saves a lot of time and will save you guessing which pieces go together. In this example our pattern we are using includes 25 tiles. You can see this one has 5 rows with each row has 5 tiles. Just noting this as all pattern files are made up differently to fit the pattern pieces.
Tip- Place all of your printed pattern tiles with the pattern tile numbers as shown.
From this pattern map, the first row we will glue together is the top row: Tiles no 1 to no 5
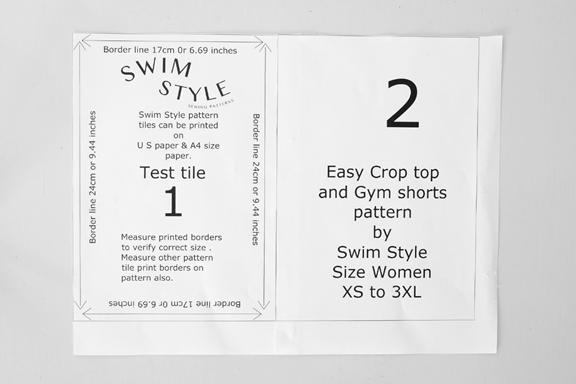
In the photo of tile no 1 & 2 below, you can see that we have glued the blank space between the border line and edge of pattern tile.
Just to show you up close – the photo below we have glued the 2 tiles together.
No 2 tile is glued to no 1 tile by aligning the trimmed border of no 2 on to the printed border of tile no 1. Repeat this method to glue the entire row together.
Spread your top row of tiles out with numbers facing upwards.
Apply glue to each tile on the right hand side between the printed border and edge of paper.
Refer to your pdf map and glue each row together.
As you can see this is quite a large pattern, I find it easier to manage the pattern tiles by gluing each row together before the final step. Or as you often run out of space. I am assembling this pdf pattern on a traditional size dining table. This method will also save time.
Take the top row place it on the table and apply glue to the space between the printed border line and the edge of the paper.
Align the top edge of the 2nd row of tiles on to the printed border of the top row. Glue together.
Repeat this process for each row to complete your pattern.